With 0.1.35, Ravage now supports multiplayer. You can run this hosted or dedicated. Hosted means running it on your PC and having other players connect to you. Dedicated means uploading it to a server that runs the game.
An important thing to note is that Ravage is designed as a mod framework - that is to say, it's intended to be the basis for other mods. Although Ravage comes with a single player mission set on Altis, this is intended to be a demonstration, rather than the sole point of the mod. Accordingly, that mission is designed to be single player only and is not designed for multiplayer sessions. You will need to use another mission file that is designed for multiplayer.
You will need to choose a mission file that is suitable for both multiplayer and Ravage. On the Unofficial Ravage missions page, you'll find a list of all (or nearly all) the missions that have been designed for Ravage. The following is an incomplete list of missions that work with Ravage in mutliplayer:
- The Escape - has no other dependencies. There is also a single player version.
- HOMO HOMINI LUPUS Escape - also requires Chernarus Winter, CUP Terrains Complete, CUP Units, CUP Vehicles, CUP Weapons, RHS US and Russian Packs and TRYK Uniforms.
- Doctor X - designed as a single player mission, but does support multiplayer (but without saving). Has no other dependencies.
This list is not complete and should not be taken to guarantee the functionality of individual missions. For instance, Doctor X was primarily designed for single player and may have some incomplete multiplayer functions.
Hosted[]
To run Ravage multiplayer as a hosted session involves placing a couple of files in the right place and setting up a game. Your friends should then be able to join you.
You should ensure that you have the @Ravage and @CBA_A3 folder in your ArmA 3 folder. Chances are you've already got these because you've played Ravage single player. Every player connecting to the game will have to have the @Ravage and @CBA_A3 folder installed and loaded in order to connect to you.

If Ravage and CBA aren't in the 'Loaded mods' section, they will not be able to connect.
You will also need a multiplayer mission file. The Altis demonstration mission that is included with Ravage is not a suitable file. Also, it is built into another file (along with other stuff), so you would need to extract it in order to use it. And it's not made for multiplayer anyway. You will need another mission file!
Place your mission file in the mpmissions folder inside your ArmA 3 folder. Be careful not to put it in the missions folder as that is designed for single player missions and will not show up on the mission list in multiplayer.
I'm going to use The Escape for the purposes of this tutorial. It requires no other mods or addons (other than Ravage and CBA) so it's easy to get going.
Obtain the mission file from The Escape page. Make sure it is the multiplayer version (co@06_ravage-the-escape-sw.altis.pbo). Place the file in the mpmissions folder. Only the host needs the mission file - other players will download it from you as they connect.
Start the ArmA 3 launcher. Make sure you have both Ravage and CBA checked and loaded. Hit play.
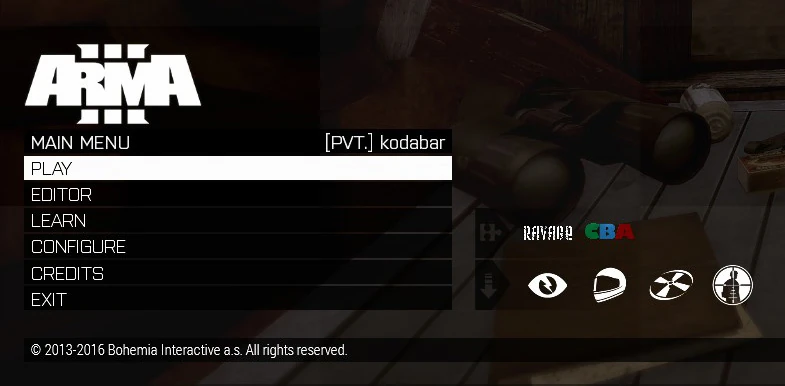
When t
he game loads, check to see that the Ravage and CBA logos are shown as in the image. If they are not there, it indicates that they are not loaded and you will not be able to run the mission. Close ArmA 3 and go back to the launcher and make sure they are installed and loaded. You can create and save presets in the launcher, so you can have a dedicated Ravage setup that can be loaded easily. This is the same for all players, not just the host. From the main menu, select Play, then Multiplayer. You will then see a list of servers appear. In the bottom left corner, there is a button marked New. Click it and a new screen appears with details of the game you are creating. Make sure you select Internet under Host as it defaults to LAN. Give your game a name so that your friends will be able to find it easily. You can add a password if you like and it's recommended that you do. The Port section will already be filled in and you should stick to the default unless you have a good reason for doing otherwise. Take notice of the note that mentions ports 2302 and 2303. If people have difficulty connecting to you, you will need to make sure those ports are forwarded in your router and/or firewall. See the many online guides on port forwarding if that proves necessary.

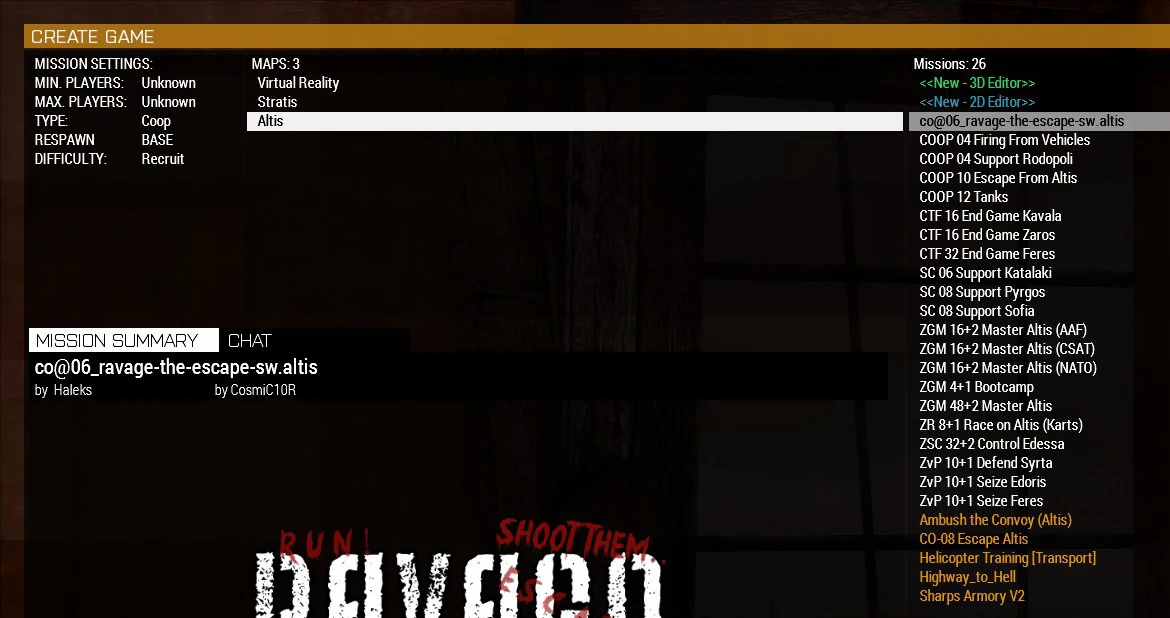
co@06_ravage-the-escape-sw.altis in the list and move onto the next page.
At this point, your game has been created and will show up in the server list, so your friends can join. You will see the game lobby. If they have difficulty seeing your game on the list, they can use the Filter button at the bottom of the server list to type the name or part of it. If they still cannot locate your game, it could be a problem with port forwarding or it just might not be showing up for some other reason. There is also a button marked Remote below the server list into which they can enter your IP address and it will show a list of games running on that IP (of which there will only be one).
In the lobby screen, there is often a button marked Parameters in the top right of the screen. Not all missions have this, but The Escape does. If you (and only you) click this, there are a number of options that you can set. In The Escape, there are options for time of day, time acceleration, debug markers (you don't need this) and site types. You can choose what you want here. No one apart from the host is able to adjust these settings.
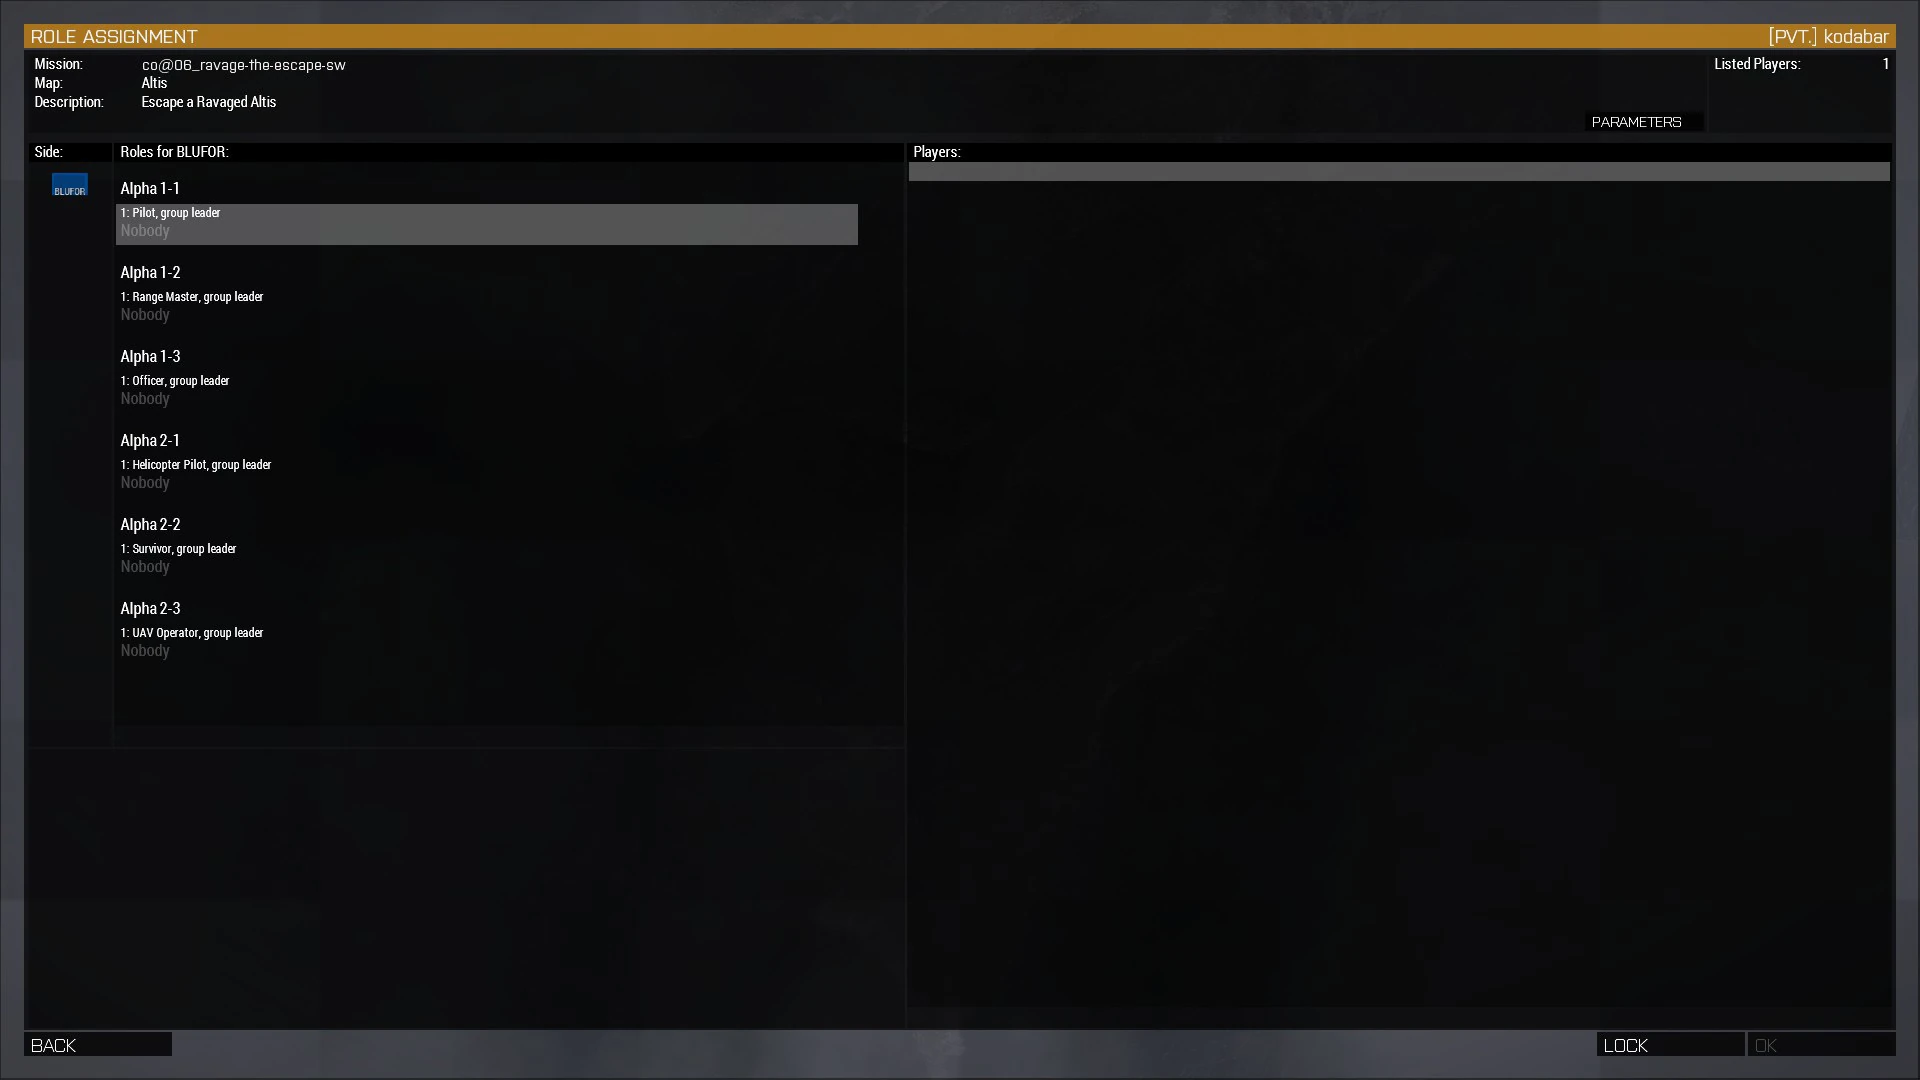
Presuming your friends have managed to join, you'll see a list of connected player names on the right of the lobby and a list of positions on the left. Each player needs to click on a position and have their name show up under it. When everyone has picked a position, you can start the game. Not everyone needs to pick a position before the game starts, but not all missions support JIP (Join In Progress) so it's best if everyone is ready before you begin. And that's it. You're in and playing. Note that when the host quits the game, the game is ended for everyone.
Dedicated
These steps can vary enormously depending on how your server is set up and how the server company (if you're using one) operates - some server companies provide direct command line access and FTP access to files, whereas others force you to use their web interface for everything.
To run a Ravage mission on a dedicated server, you need to install:
- Ravage
- CBA
- A mission file
- Any other mods, addons the mission file requires
First you need to copy the @Ravage and @CBA_A3 folders onto the server. These should be in the same folder as ArmA 3, just as it is on a local machine.
The next thing you have to do is to add a section to the command line that starts the server. Different server companies express this in different ways. Effectively what you need to do is add -mod=@Ravage;@CBA_A3 to the server startup command. Some server hosts allow you direct access to the whole startup command, whereas other will require you to use a web interface to edit it in part. Others will have a section on a web page where you can load 'additonal mods' (or whatever they call it).
For example, on the server host Nitrado, they have a web interface which provides simple icons to add mods, but only mods that the server host has packaged themselves. For any mod that is not on their list, you have to specify a Vanilla ArmA 3 server and then add @Ravage;@CBA_A3 (without the -mod= bit) to the 'Additional mods' on the 'Base Settings' page on their web interface.
Place the mission file in the mpmissions folder. If there is not an mpmissions folder, create one. If you place the file in the missions folder it will not show up on the missions list on the server.
It is not necessary to specify the mission file in the server configuration, but you will have to connect to the game, log in as an admin and choose it from the mission list to otherwise run it. By adding it to the mission cycle in the server.cfg file, you are just simplfying the process.
To do so, you need to edit the server.cfg file. The example shown below is a typical and simple server.cfg file. All that has been added to it is in the Missions Cycle section. The template = line specifies the mission file to load. In this case it is from The Escape. The Escape has no other dependencies - it doesn't need any other mods or addons aside from @Ravage and @CBA_A3. The mission must be specified by its filename without the pbo extension. So in this case we're adding co@06_ravage-the-escape-sw.altis.pbo, making the line template = co@06_ravage-the-escape-sw.altis;
Note: your server.cfg file may be slightly different to this. It may have extra sections, or it may have fewer.
// GLOBAL SETTINGS

hostname = "myserver"; // The name of the server that shall be displayed in the public server list

password = "cheese"; // Password for joining, eg connecting to the server

passwordAdmin = "adminpassword"; // Password to become server admin. When you're in Arma MP and connected to the server, type '#login xyz'


logFile = "server_console.log"; // Tells ArmA-server where the logfile should go and what it should be called


// WELCOME MESSAGE ("message of the day")

// It can be several lines, separated by comma

// Empty messages "" will not be displayed at all but are only for increasing the interval

motd[] = {

};

motdInterval = 10; // Time interval (in seconds) between each message


// JOINING RULES

maxPlayers = 4; // Maximum amount of players. Civilians and watchers, beholder, bystanders and so on also count as player.

kickDuplicate = 1; // Each ArmA version has its own ID. If kickDuplicate is set to 1, a player will be kicked when he joins a server where another player with the same ID  is playing.

verifySignatures = 0; // Verifies the players files by checking them with the .bisign signatures. Works properly from 1.08 on

equalModRequired = 0; // Outdated. If set to 1, player has to use exactly the same -mod= startup parameter as the server.


// VOTING

voteMissionPlayers = 1;   // Tells the server how many people must connect so that it displays the mission selection screen.

voteThreshold = 0.33; // 33% or more players need to vote for something, for example an admin or a new map, to become effective


// INGAME SETTINGS

disableVoN = 0; // If set to 1, Voice over Net will not be available

vonCodecQuality = 5; // Quality from 1 to 10

persistent=1;


regularcheck="";


// MISSIONS CYCLE

class Missions {

    class ARMA3 {

template = co@06_ravage-the-escape-sw.altis;

difficulty = "Regular";

    };

};
When you've finished all this, start (or restart) the server and Ravage and your mission should load.
Players who want to connect to your server will have to have the @Ravage and @CBA_A3 folders on their machine and they will have to be loaded (either through the ArmA 3 launcher or through a modified shortcut). They do not have to have a copy of the mission file as it will be downloaded from the server. Note: Mission files downloaded from the server are not stored in the local mpmissions folder, but in a sub-folder off the ArmA 3 folder in My Documents.
The process is the same for loading mission files that do have other dependencies, but you will have to add those folders and add them to the server startup command. I only chose The Escape for this example to keep things simple. Players connecting to your server will also have to have the addition mod folders (that the mission requires) installed and loaded.